Today we are continuing a week long feature with our friends at Simple Stories.
Our designers will be bringing you some fun and exciting projects using not only Scor-pal products, but also, a mix of papers and embellishments from Simple Stories. Of course, that's not all. The Simple Stories team is playing with Scor-pal products this week on the Simple Stories Blog.
As always, there a prizes to be won!!
Be sure to visit both the Scor-pal blog and Simple Stories Blog each day this week to see more project ideas and to enter for chances to win some great prizes. To be entered into the random drawing for a Scor-Tape and Simple Stories prize simply leave a comment here on the Scor-pal blog each day for a chance to win.
There will be other ways to earn extra chances to win as well, so be watching for those announcements each day.
The Bonus Entry for today is:
Today's bonus entry
comes by sharing with us how you first heard about Scor-pal. Simply leave a
comment here on this post telling us for an extra chance at this week's prize.
Deadline for entering is 8am Central, Monday, January 28, 2013.
Our first project this week comes from Scor-pal Designer Lisa Silver.
Hello! It's Lisa with a mini-book project using my favorite
Scor-pal tools and the amazing Simple Stories patterned papers.
Supplies:
Patterned Paper: Fab{u}lous and Simple Basics kit by Simple Stories (papers, kit stickers and journal prompts)
Cardstock: black cardstock by DiscountCardstock.com
Embellishments: rhinestones by Recollections, Mod Podge
Other: cardboard
Instructions:
Begin with two pieces of cardboard. This book was sized as 8.5" x 5". You can opt to purchase heavy weight cardboard OR... you can be thrifty. I save cardboard from large packs of patterned pattern, save cereal boxes (the sturdy kind not the econo boxes we usually buy) or from the back of a pad of notebook paper. Cover the piece of patterned paper and cardboard completely with Mod Podge. I find that when you cover both surfaces with liquid glue, you avoid air bubbles behind the paper. Cover both sides of the cardboard. Set aside to dry.
Adhere to the cardboard covers.
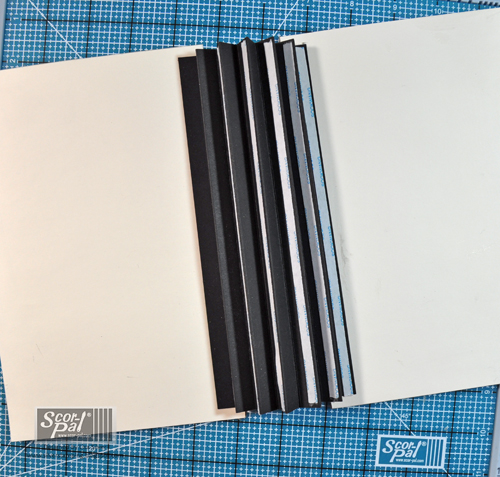
Cut black cardstock for the pages at 8" x 5". Adhere to the spine of the book.
Embellish the pages with the fun stickers and journal prompts from the Simple Stories Fab{u}lous kit.
Doesn't this make a great gift for a sweet teenager? I know my sweet girl will love it! I left plenty of spaces to add fun pictures and high school mementos.
Good morning, Steph here with a fun project using products from Simple Stories Take a Hike Collection and my Scor-pal.
This collection with it's earth tone colors and it's assorted array of patterns and elements made this the perfect collection to create this Wilderness Survival Box. Fill it with cards, mementos and little goodies from home so your little camper won't be lonely.
Supplies:
Scoring Tool: Scor-pal
Adhesive: Score-tape
Cardstock: Bazzill
Pattern paper: Simple Stories
Ink: Ranger Distress Ink
Cut cardstock to 12" x 7", then score at 4 1/2" and 7 1/2". Fold on the scored lines.
Cut pattern paper 4 1/4" x 6 3/4" to cover both the front and back of the box.
Cut additional cardstock and pattern paper as decorative elements for the front of the box.
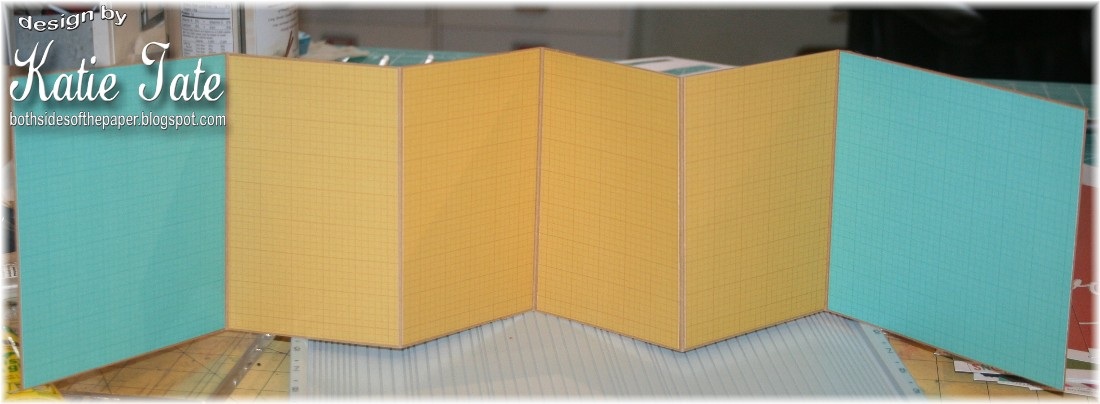
To create the sides of the box, cut 2 pieces of cardstock 6" x 2 1/2" and score every 1/2" across.
Once folded, adhere the two end pieces to the larger cardstock panel to create the box.
Inside the box, add cardstock strips to create separate compartments by cutting 4 pieces of cardstock 7" x 2 1/2". Score 1/4" on both ends, and adhere to the side panels created above.
Cut elements from the pattern paper collection and include inside the box. And also add some goodies from home.
To create the top of the box, I used Spellbinders dies, cutting the bottom layer from cardstock and the top layer from pattern paper.
Fitting the cardstock to the box, create the back flap by scoring at 1 1/2".
To create the front flap, score at 2".
Cut the pattern paper into 3 sections to fit between the scored lines and then adhere each section.
Add assorted tickets and elements to the back of the box, inking the edges of each piece and matting each piece with cardstock before overlaying and adhering to the box.
Add assorted elements and stickers to finish the top and front of the box.
Side view of the completed box:
To close the box, add a Velcro dot in the center of the front.




.jpg)