We love showing our projects to you and now it's your chance to show your creations to us!
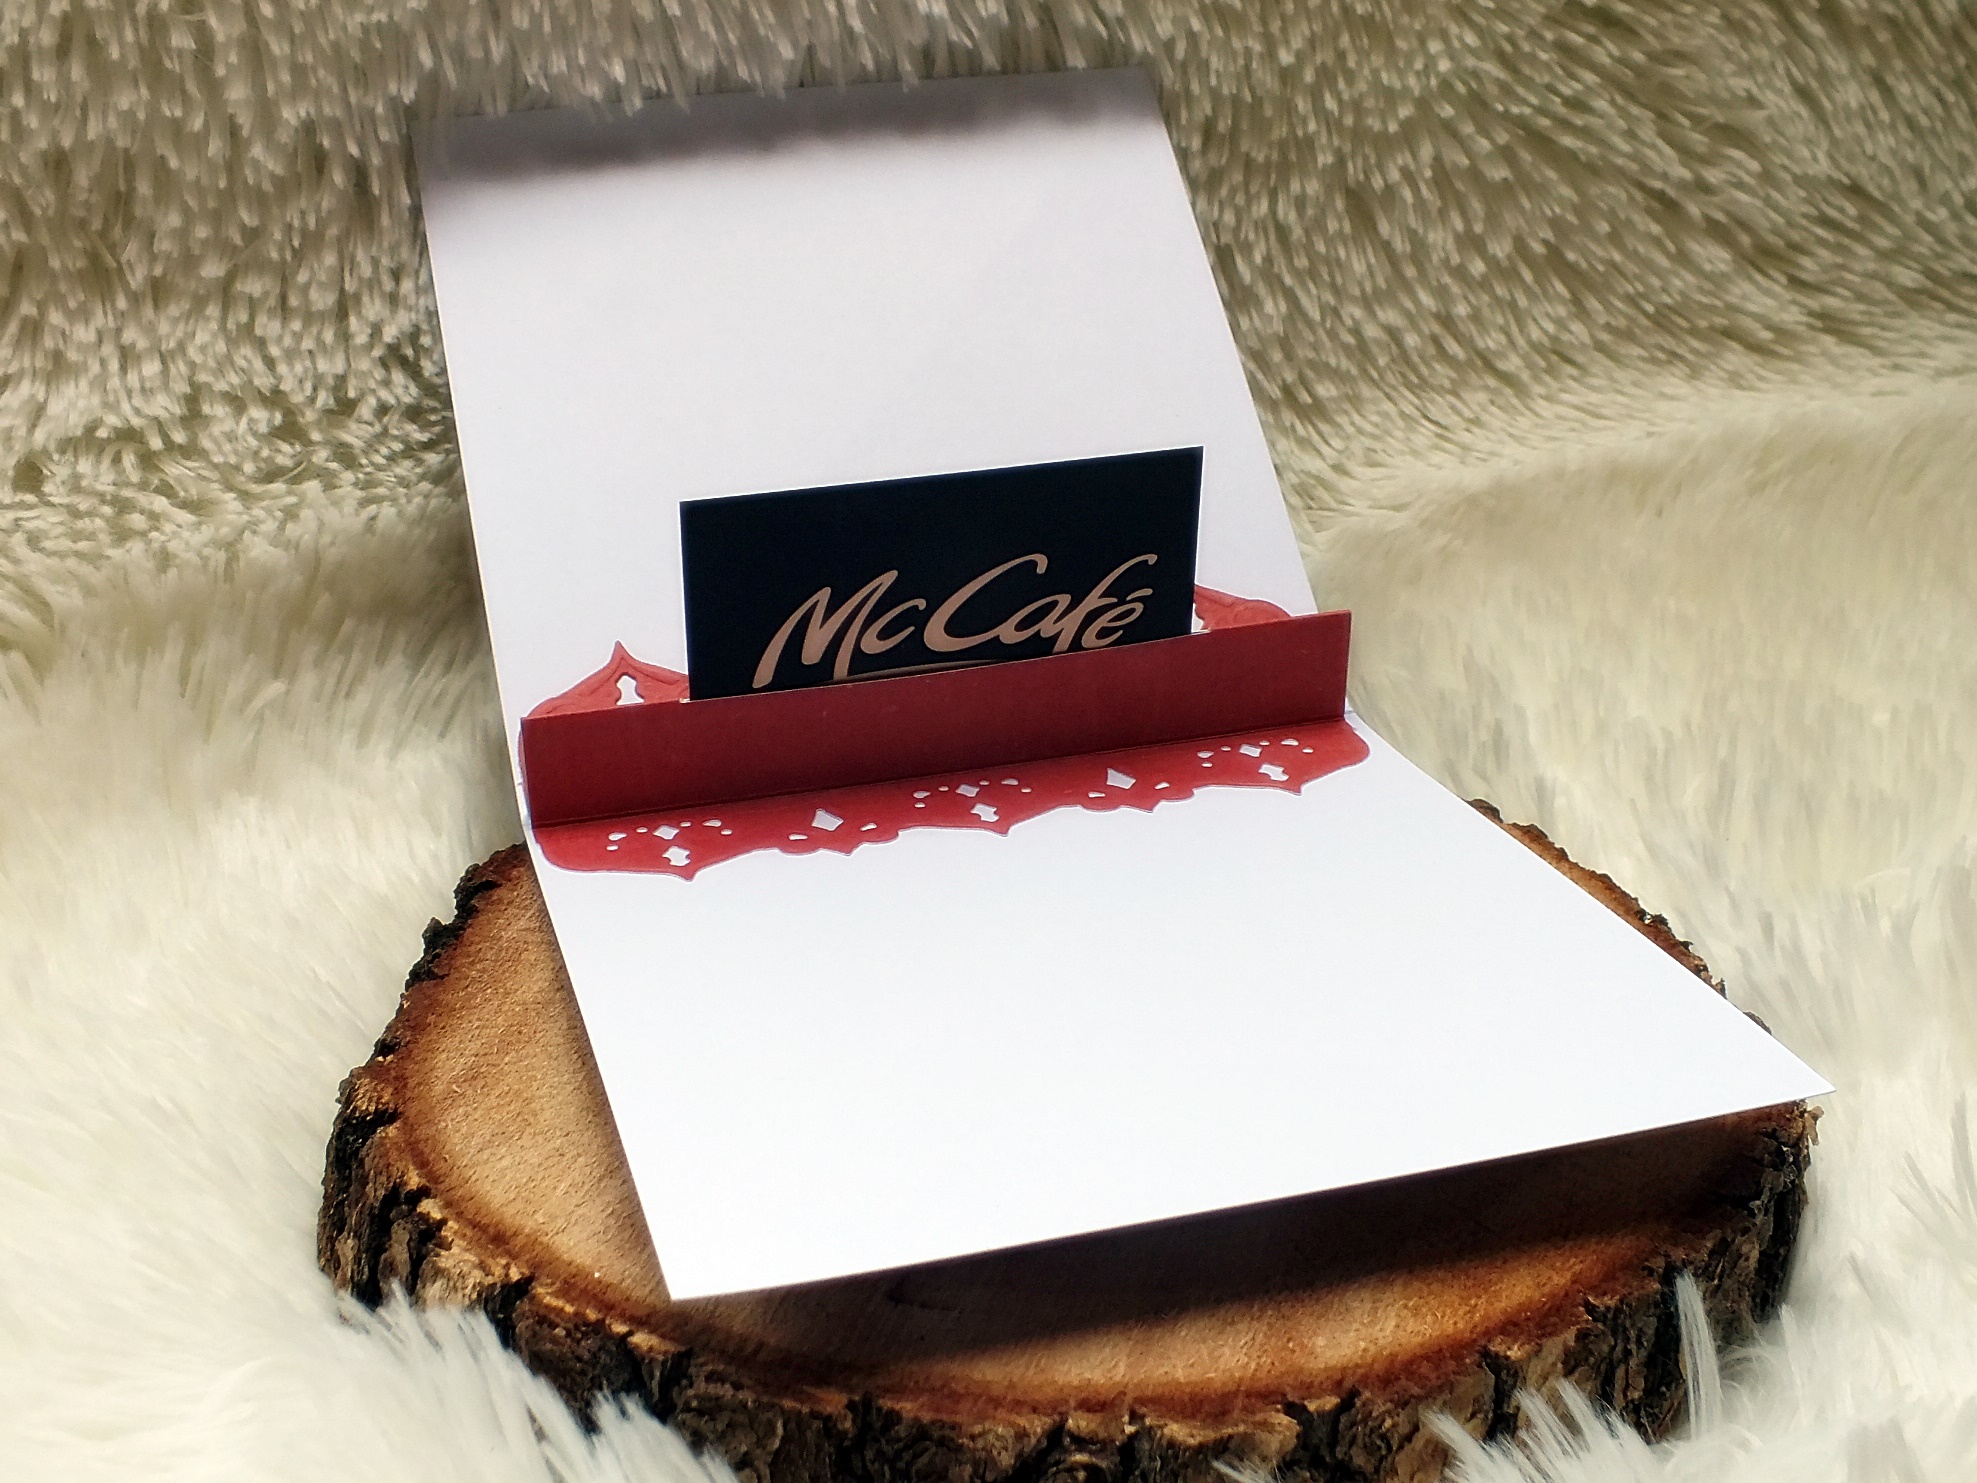
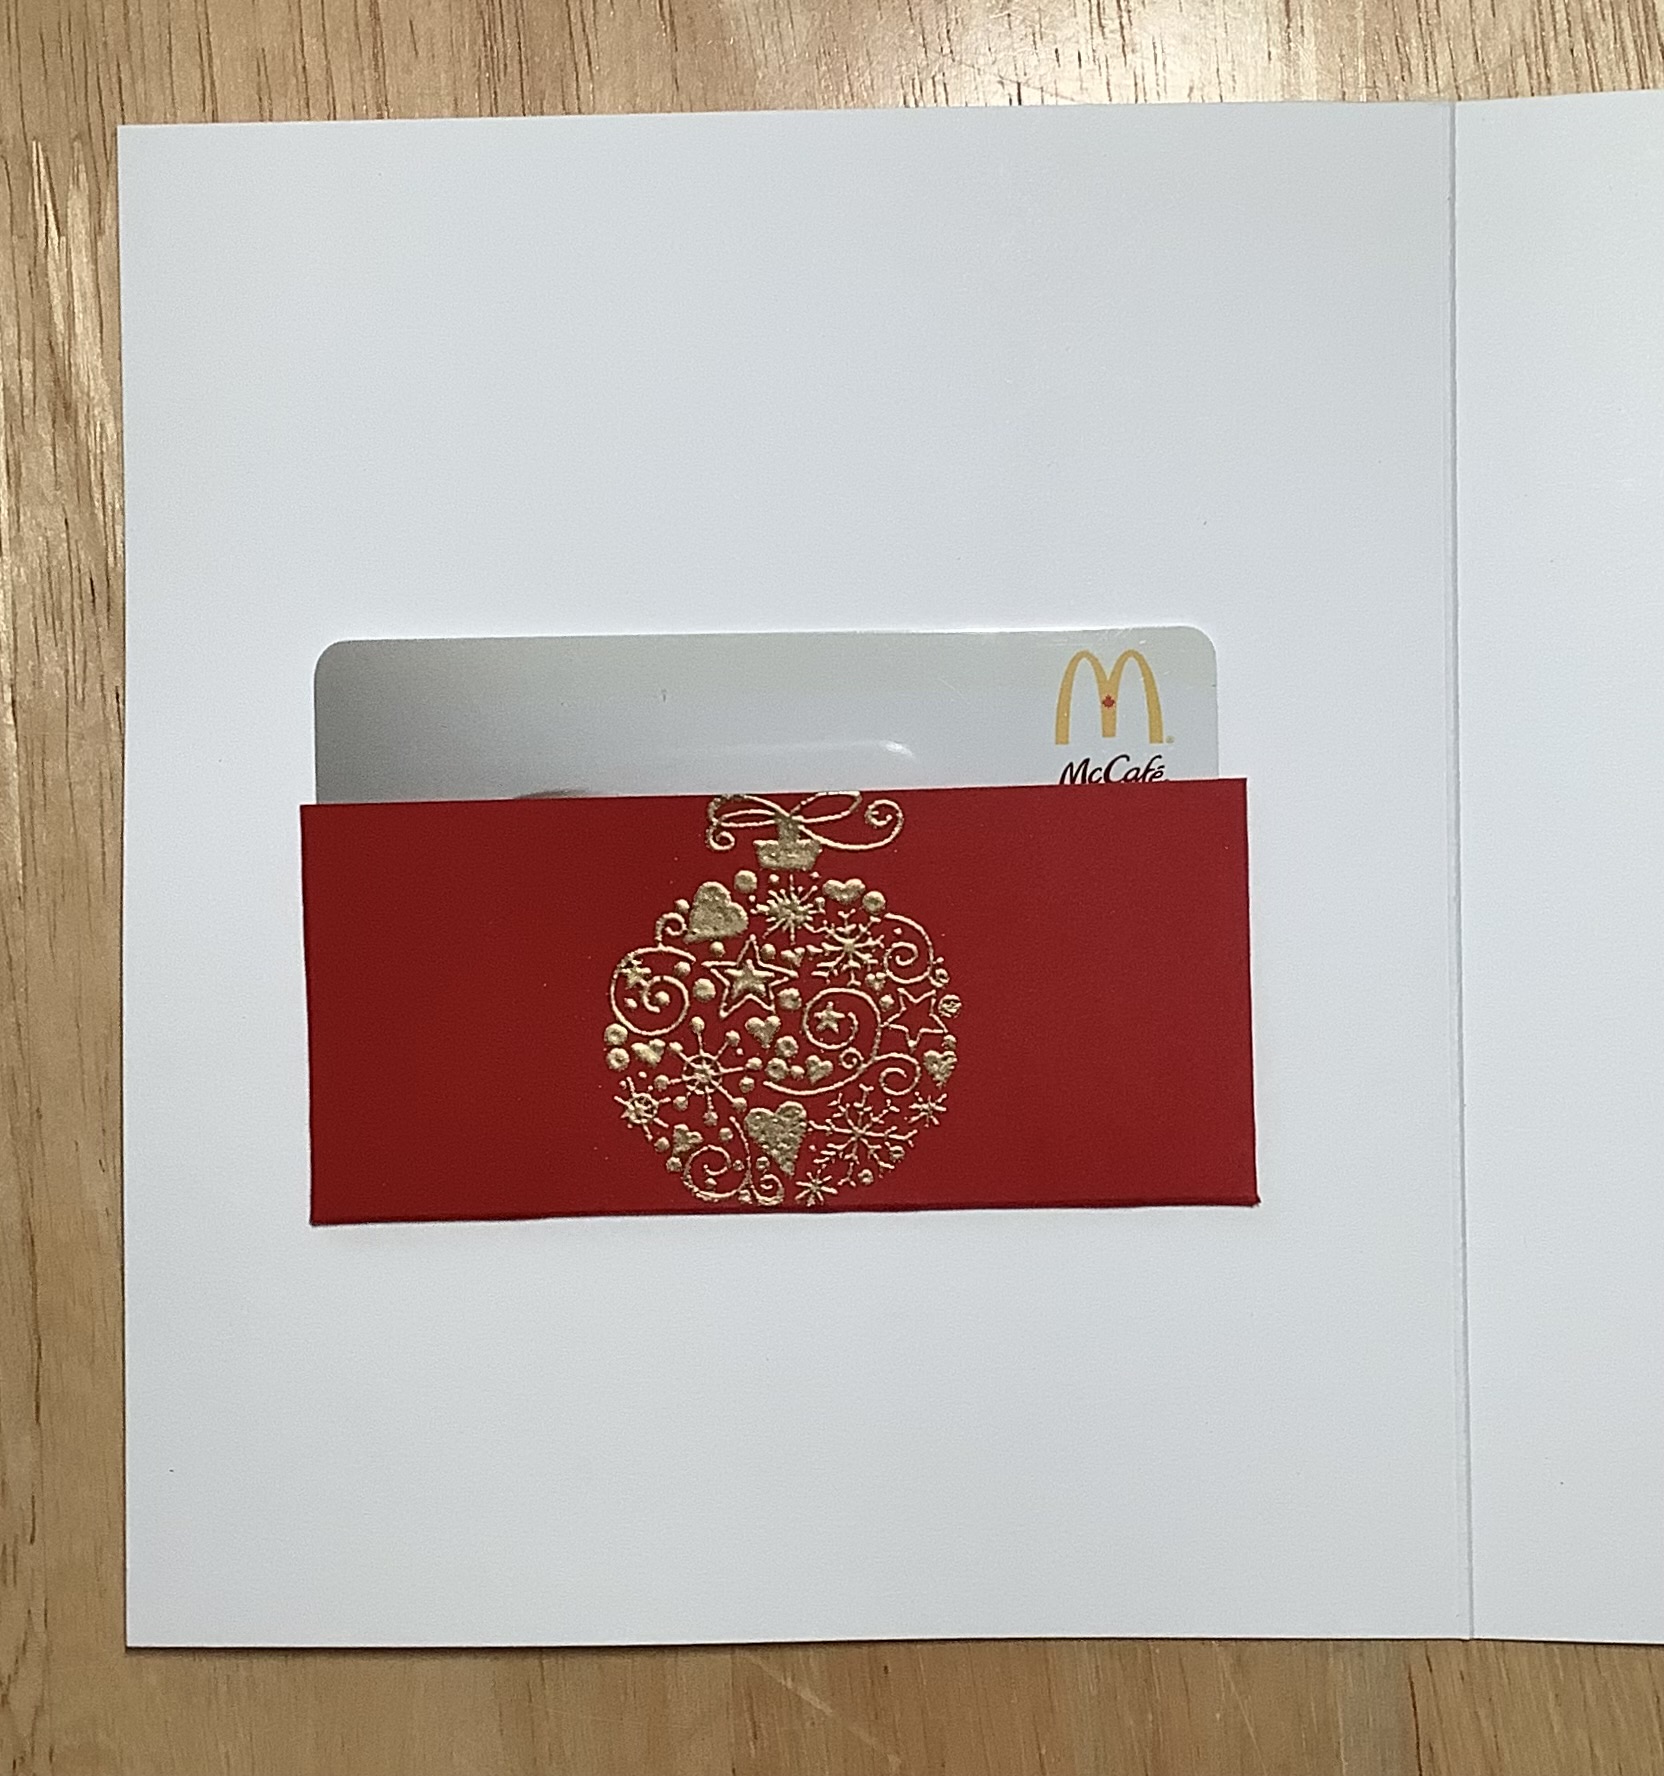
Each month will now have an "Anything Goes" theme and you will have a month to create and enter your projects. As well as the theme you will need to make "More Than One Score" and tell us where you used the Scor-Pal on your project. So a single fold card won't count but an Easel, Gatefold, Stair Step, etc will :) Also we love to see your "Anything But a Card" projects, just as long as you make "More Than One Score"
We have a ton of inspiration on our Projects on the Scor-Pal website and also on our Pinterest Board to get you eager to enter.
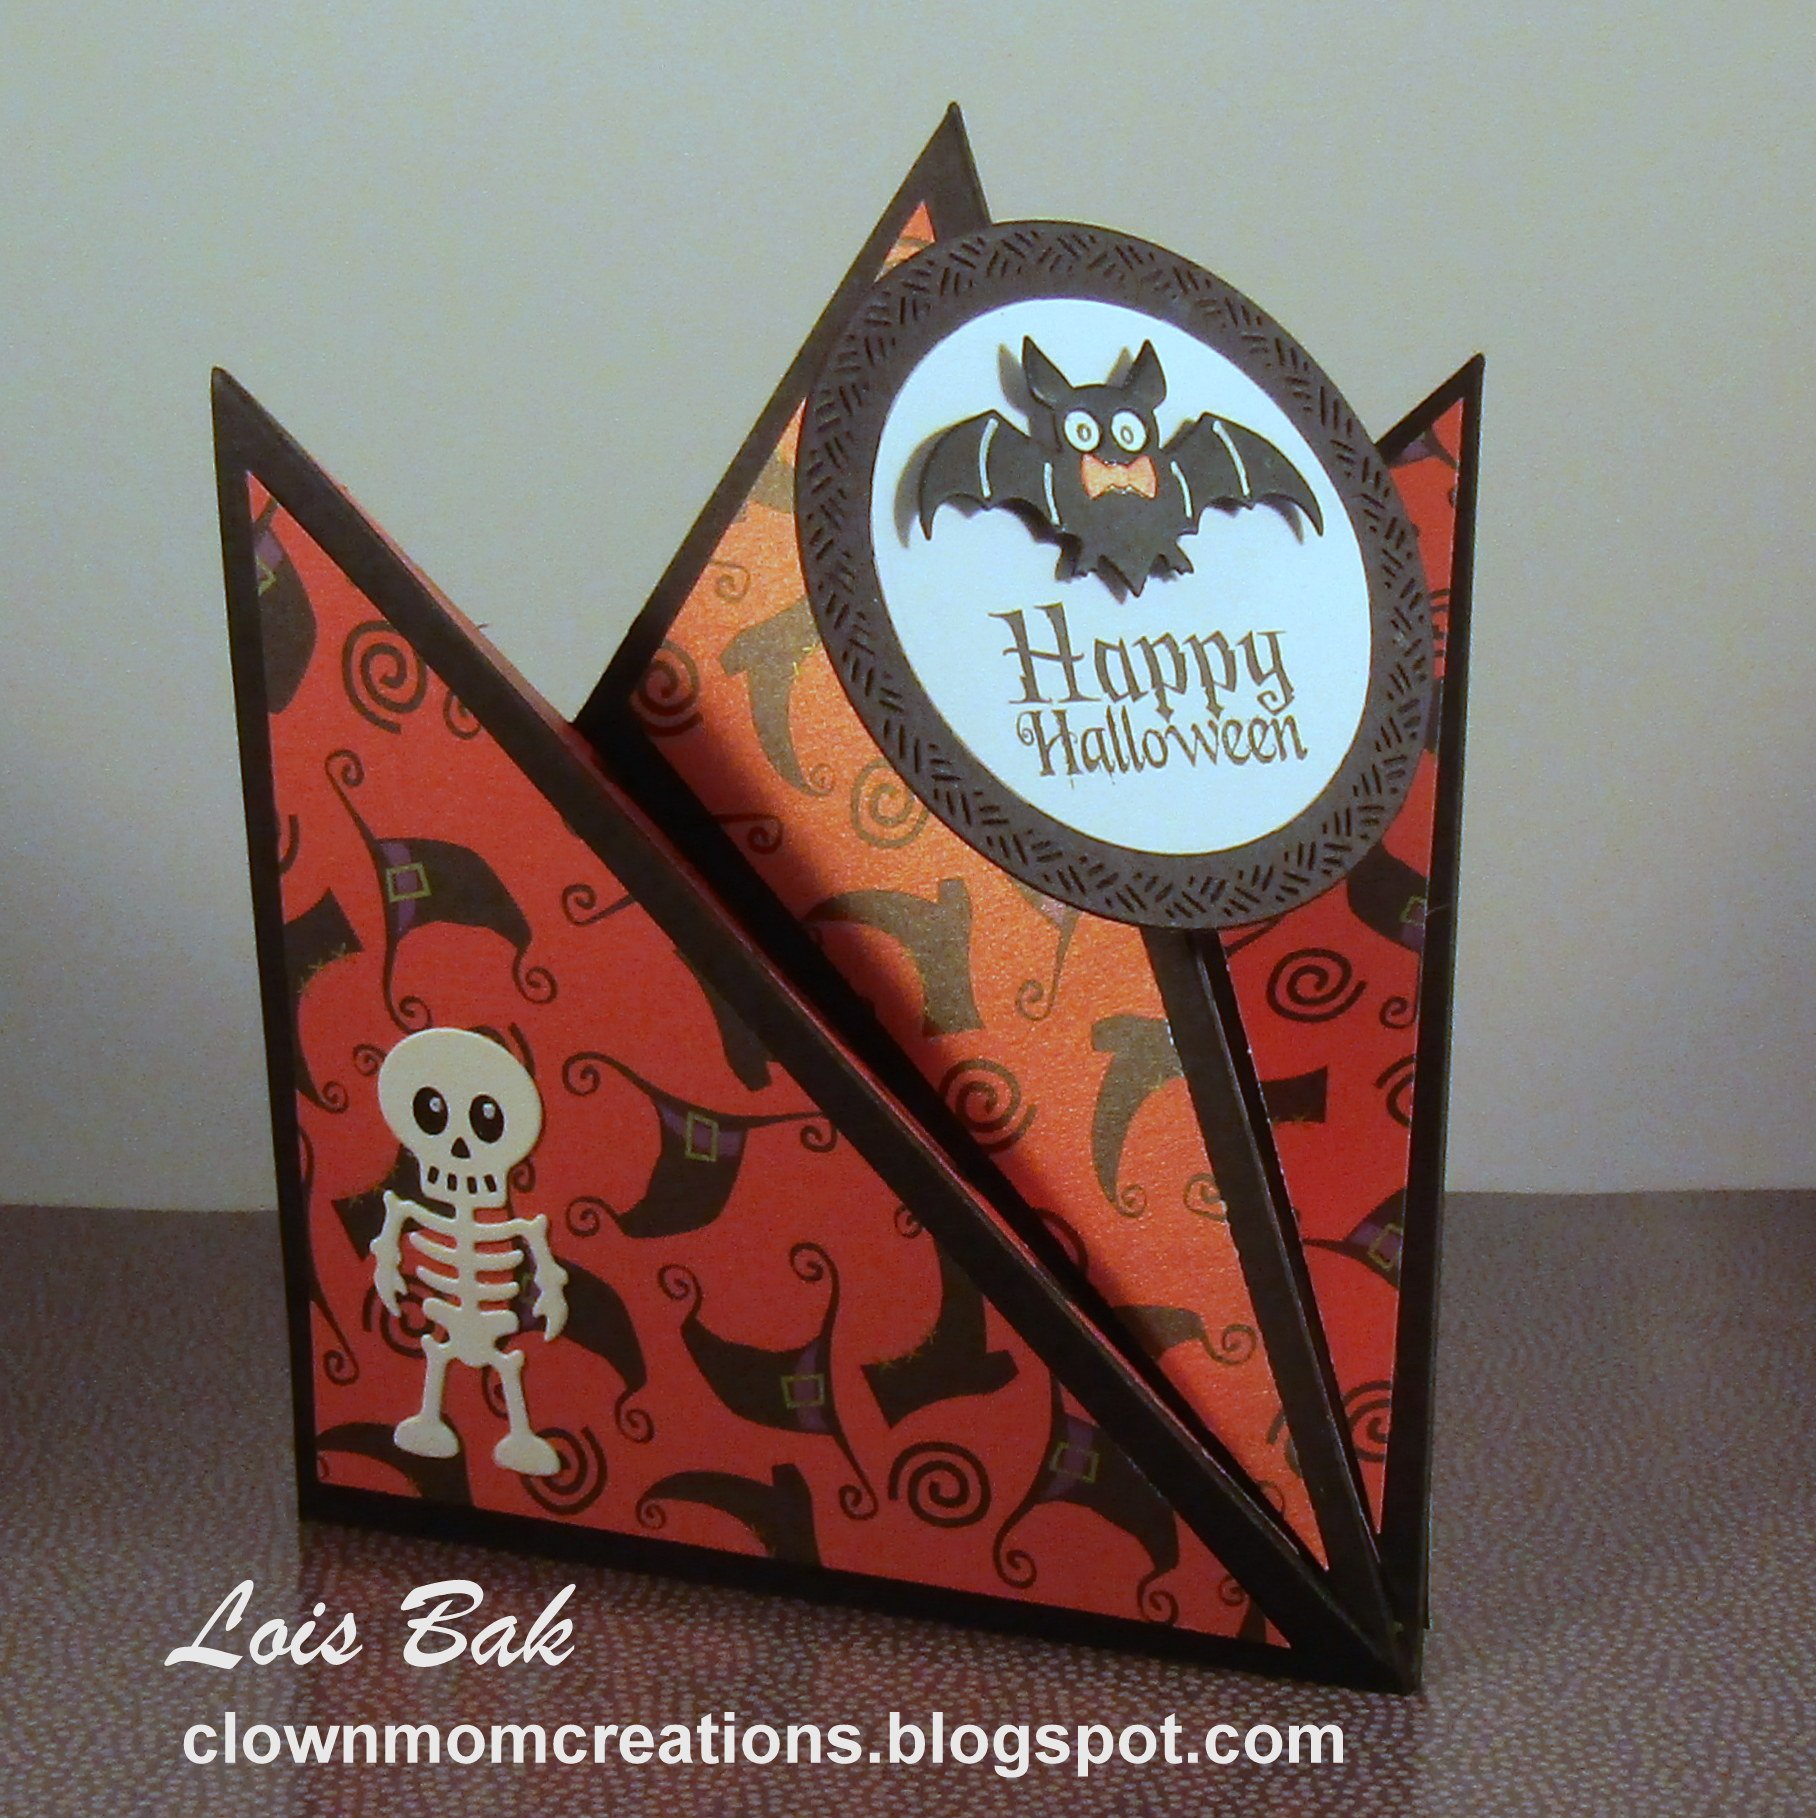
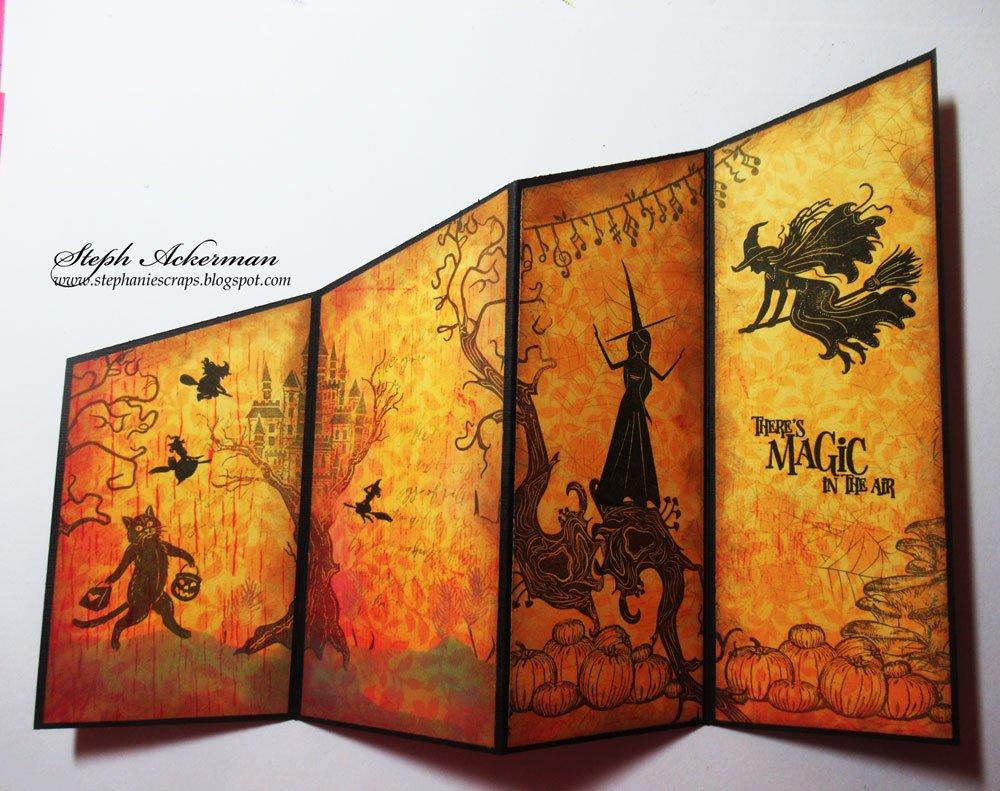
We have a nice set of samples from the Design Team, just click on their names to go to their blogs for more details on their creations.
Lois Bak

Steph Ackerman

Toni Storie

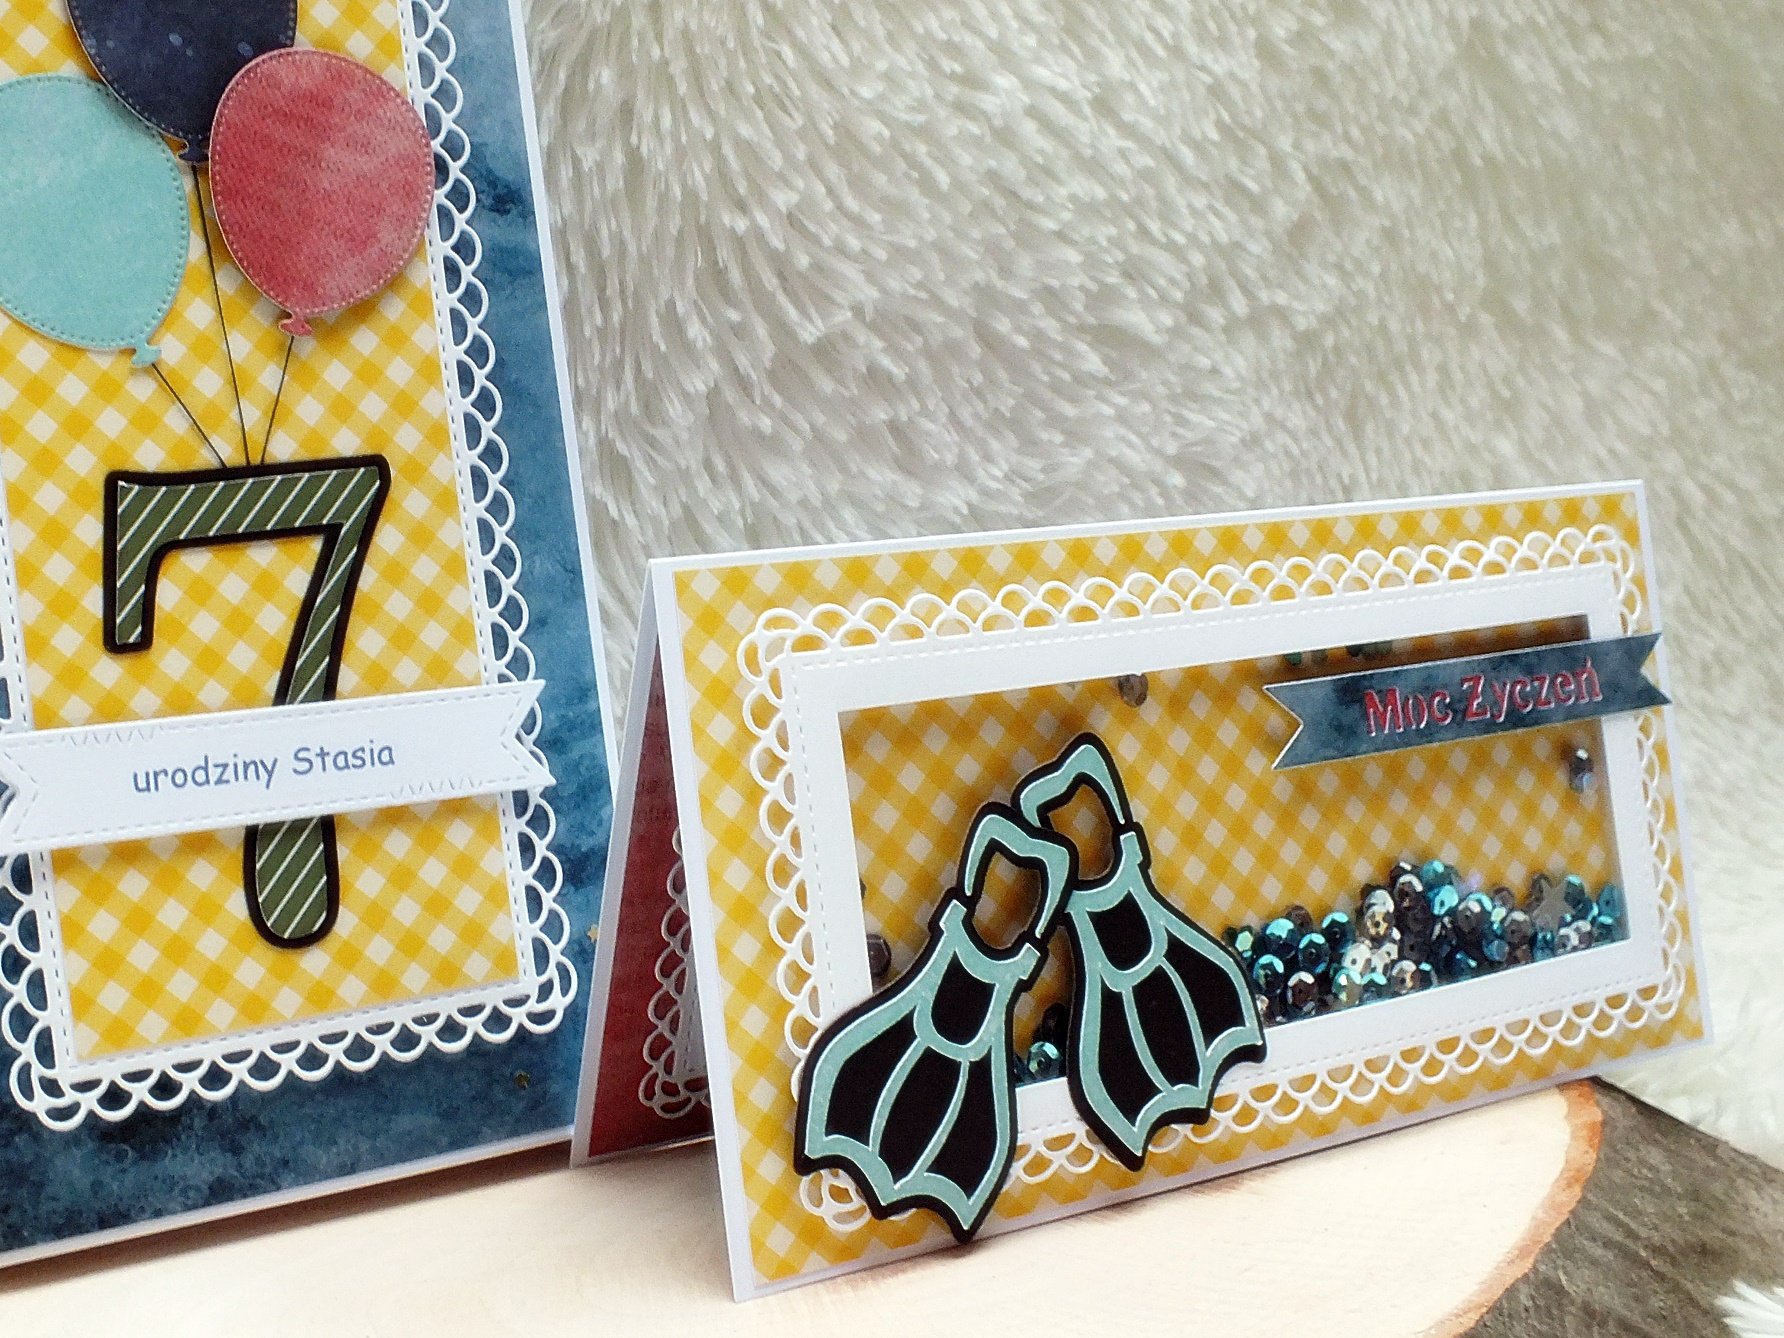
Isia


Dawn


Nancy


The prize for our winner will be a $25 Gift Certificate from the Scor-Pal Store!
Challenge Rules:
1. Each entry must have "More Than One Score"*, mention where the Scor-Pal tool was used and follow the theme.
2. Entry can be combined with as many challenges as you like.
3. 3 entries allowed per person.
4. You must link back to the Scor-Pal blog to be considered for a prize.
5. No backlinks will be accepted.
6. Each challenge will last from the 1st day of the month until 10pm on the last day of that month.
7. Winner will be announced on the 5th of the following month.
8. Entries not adhering to the rules may be deleted.
9. Prizes will be awarded when the challenge has at least 10 entries
* "More Than One Score" means that a single scored fold card (ie: a simple square or rectangle) with no additional use of the Scor-Pal tool will not count as an entry.
Please add your link below and Good Luck!