Friday, March 8, 2013

Easter Gift Box by Lori Williams

Easter Gift Box
Designer: Lori Williams


Supplies Used: Scor-Pal Board, Scor-Pal Tool, Scor-Pal Tape, Designer Paper and Dies.  

It's always fun to create dimensional paper projects and I hope you'll find this one handy for any holiday, though I have designed it for Easter.  Get your Scor-Pal's ready, follow this simple tutorial and you'll have your treat box in no time. 

Step One: Cut your cardstock to 11 x 6 5/8.  Cut two pieces of designer paper 2 1/2 x 3 7/8 and two 2 x 3 7/8 and one piece 3 1/2 x 4 inches.  Lastly cut one piece of card stock to 3 1/4 x 3 3/4 and one 2 7/8 x 2 1/2.  

Step Two: On the main piece of cardstock score at the 2 1/2 , 5 1/4, 7 3/4 and 10 1/2 longwise.  For the 7 3/4 and the 2 1/2 scores you'll need to move your paper over to the first 1/8 of an inch line as shown in the picture below ( this will actually be scoring at 2 5/8 and 7 7/8 inche but there aren't lines for those measurements).  For the 1/4 and 1/2 inch mark be sure it's lined back up on the edge.  


Step Three: Turn your paper and score 2 1/2 


Step Four: Cut your lines upward on the smaller section and cut away the last little strip as shown on the picture below


Step Five: Lay your designer paper out and adhere to the base


Step Six: On one of the larger panels tape down a die cut you would like to use the shape and cut out. 


Step Seven: Apply thin Scor-Pal tape around the diecut and apply a clear sheet of acetate.  
TIP: You can purchase acetate sheets but I use many of my packing supplies from dies and such and recycle. 


Step Eight: Score your 3 1/2 x 3 3/4 designer paper a 1/2 inch around all side and cut slices as shown in the picture below.  We are forming the lid. 


Step Nine: Glue your solid card stock that is 2 7/8 x 2 1/2 to the inside of your lid.  This will give it some strength.  Then punch two holes on the sides of lid to run ribbon through.  


Step Ten: Glue tabs with Scor-Pal tape to create the lid. 


Step Eleven: Score your last piece of card stock that is  3 1/4 x 3 3/4  , 1/2 inch around and create another lid as above.  Take your ribbon and some wide scor-pal tape and adhere to the bottom of the lid.


Step Twelve: Push down into the box and this will hold your ribbon in place.  Run your ribbon through the lid holes and top your box.  Your now ready to embellish your box. 


Detail of Handmade Flower on Box 


Wednesday, March 6, 2013

Easter Centerpiece by Steph Ackerman


Good morning Steph Ackerman here with an Easter centerpiece.  
This would be lovely on the center of the Easter table.

Supplies:
Scoring Tool: Scor-pal
Adhesive: Scor-tape
Cardstock:  Coredinations
Stamp: Justrite Stampers
Dies: Spellbinders
Punch, Stickers:  EKSuccess
Ink: Clearsnap


Instructions:  
Starting with a sheet of 12" x 12" cardstock, score at 3 1/2" and 8 1/2".  Rotating the cardstock, score again at 3 1/2" and 8 1/2".  Cut to the score lines on all four corners, creating the flaps for the basket.


Using Scor-tape, apply the tape the smaller ends and fold the larger up to create the basket base.


Using a Spellbinders Scalloped die, die cut coordinating cardstock to add around the basket.  


Stamp an image on coordinating cardstock, then die cut with the same Spellbinders die.  Score 1/2" from the top edge and fold over.  Add Scor-tape and align the stamped piece so that the scallops are slightly offset.  Fold the scored edge into the basket to create a finished edge. 


To create the handle, cut a strip of coordinating cardstock 1 1/2" x 12".  Score at 1/4" and 1/2" from both long edges for a little dimension.  Ink edges and staple to the sides of the basket. 


Cut 1" strips of coordinating cardstock and create rosettes by scoring every 1/4".


For the sides of the basket, I created double rosettes, creating  the top rosette using cardstock cut to 1" x 12" and the bottom rosette using cardstock cut to 1 1/2" x 12".  The small rosette was scored every 1/4" and the large rosette was scored every 1/2".  The rosettes were adhered together and then adhered to the sides of the basket.


Create six small rosettes in multiple colors and add coordinating 1 1/2" punched circles on top.  Add letter stickers to the top of each rosette.  Add color to the letter stickers with Gold Smooch Ink.


Cut 3 strips of cardstock each 1" x 9" and score every 1/4".  Adhere together and use these as egg holders. 


Place the eggs in their holders inside the basket.

Monday, March 4, 2013

St. Patrick's Day treat set by Katie Tate

Today I'm going to give you a little something to help you with your St Patrick's Day preparations.
I have a multi-fold card and a cute little treat box, just perfect for the celebration!

St Patrick's Day card & treat box
Designer Katie Tate


Supplies:
Patterned paper of your choice
Image - New Years Edwin
Medium - Copic Markers
Scoring Tool - Scor-Pal
Adhesive - Scor-Tape
Ribbon - Hobby Lobby
Flower and Brad
Sentiments - Reminisce
Tags - Acuucut Die


Instructions:
For the card we start with a piece or card stock 6" by 12". Along the 12" side score at 2", 4". 8" and 10" and fold as in the photo.


Decorate the panels as desired


Make a belly band for the card with a piece of card stock 2" by 9". Score along the 9" side at 7/8" and at 5", score and join the ends at the overlap. Decorate as desired.


For the base of the box start with a piece of card stock 7" by 6". Score all sides at 2" and snip each corner as the photo to form a flap to make the box.


Use Scor-Tape on the flaps to form the base of the treat box/bag.


Form the base of the box as in the photo. Burnish the inside corners for a crisp finish.


Add Scor-Tape to the longer (3" sides) of the box to adhere the tags to form the treat bag.


Add candy to the inside of the treat bag.


Here is the completed set.


New Years Edwin looks great as a Leprechaun and I hope I have inspired you to create something for St Patrick's Day.


Friday, March 1, 2013

Spring Centerpiece by Tya Smith


Hello all - I am so happy to be able to share this bright and cheery Spring centerpiece that I made using some beautiful papers from Little Yellow Bicycle Hello Spring Collection and my trusty Scor-Pal! I am hoping that if I put this up, that spring will come that much sooner! :)

Here is how I put this fun project together:

Supplies:
All papers, and stickers - Little Yellow Bicycle Hello Spring Collection
Spring Floral Branch(purchased at Hobby Lobby)
Wood Tall Box (purchased at Hobby Lobby)
Paper Shreds
Monofilament for hanging shapes
1 1/8 oval punch
Decorative edge punch
Twine and various ribbons for decoration and embellishment

This project features 3 different elements that I made with my Scor-Pal. The birdhouse, the butterflies and the kites. I will show you how to make each one:

BIRDHOUSES:
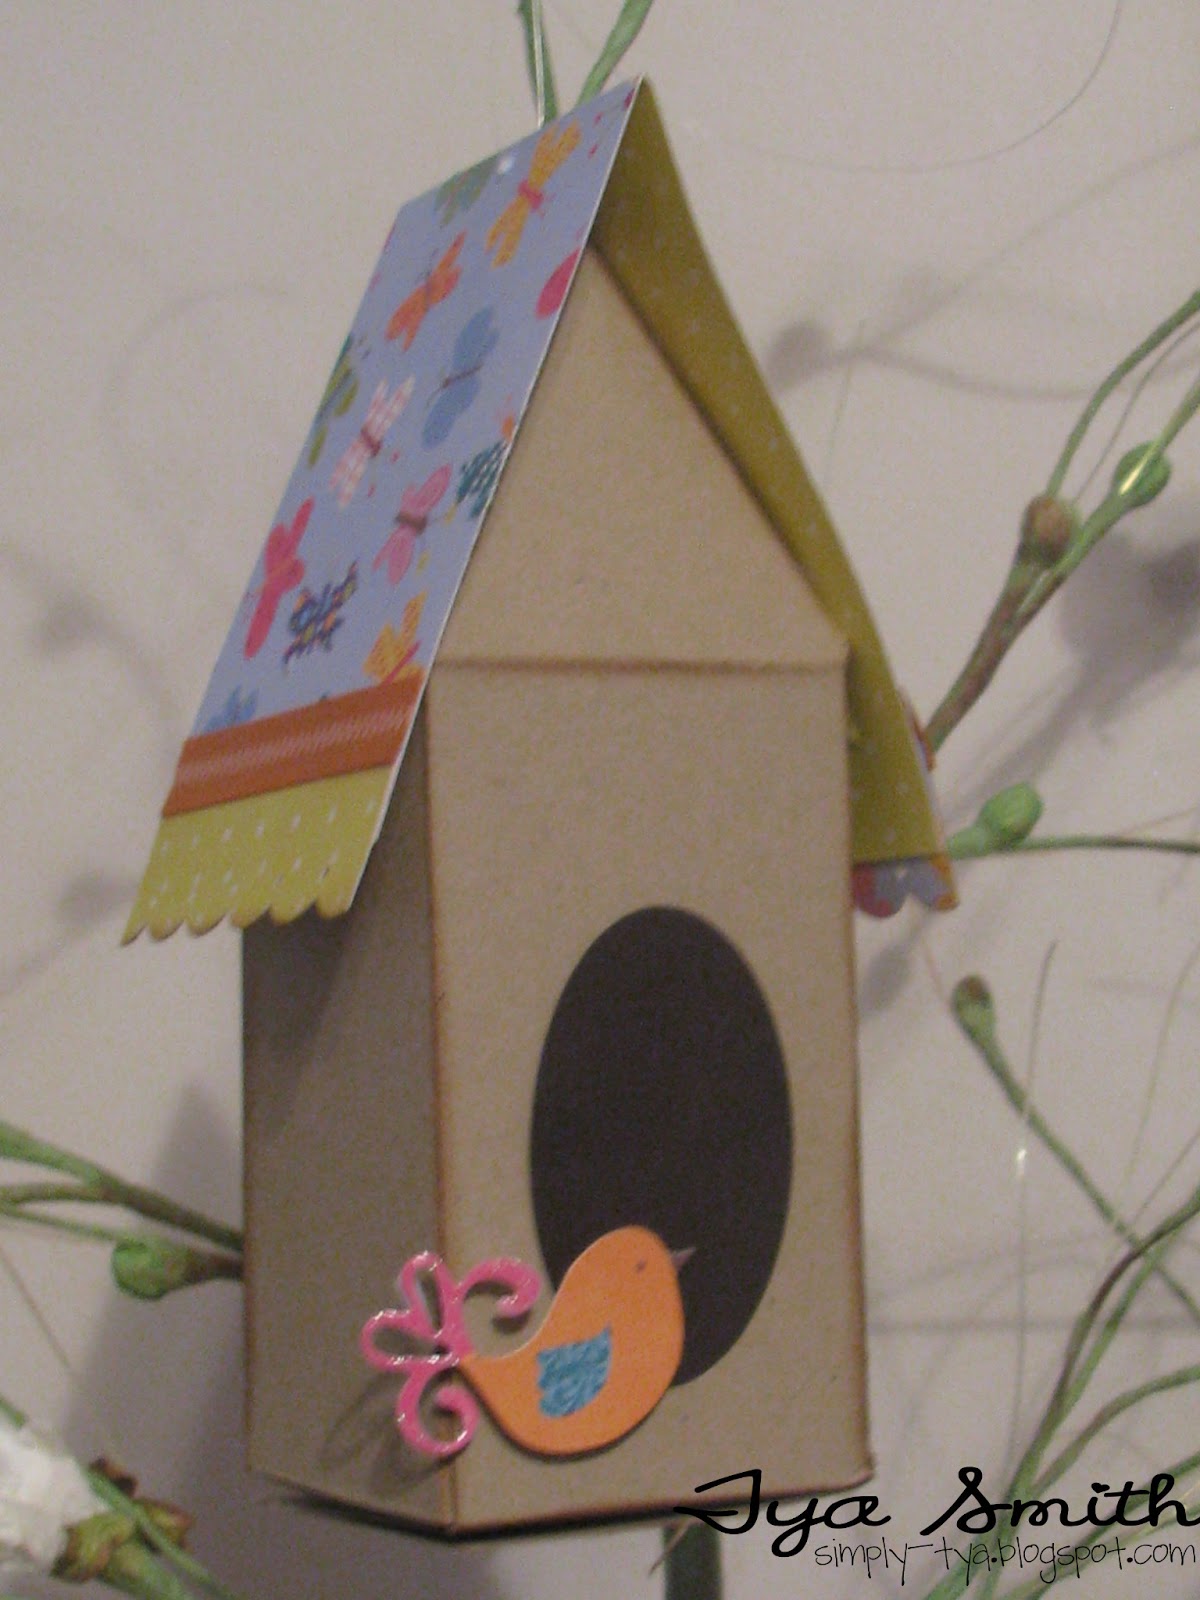
The birdhouses were made following this tutorial that is found on the Scor-Pal Project Site under Advent Houses. I just did not add a cut out door or window and opted for a Brown Cardstock oval cut from an oval punch for the opening. Decorate the roof edges with a decorative edge punch and some ribbon.


BUTTERFLIES:

To make the butterflies you will need to cut 2 rectangles from either cardstock or pattern paper. The rectangles here are 3 x 3 1/2 inches.  After you cut these out, I just rounded the outside corners with my scissors to make the shapes as shown below.


 Next I lined the shapes up and make score marks every 1/4 inch


 Next - glue the 2 shapes together as shown


Add 2 brown cardstock ovals to the front and the back of the accordion folded shapes. I then added a cute butterfly sticker to the front for some added decoration.

KITES:


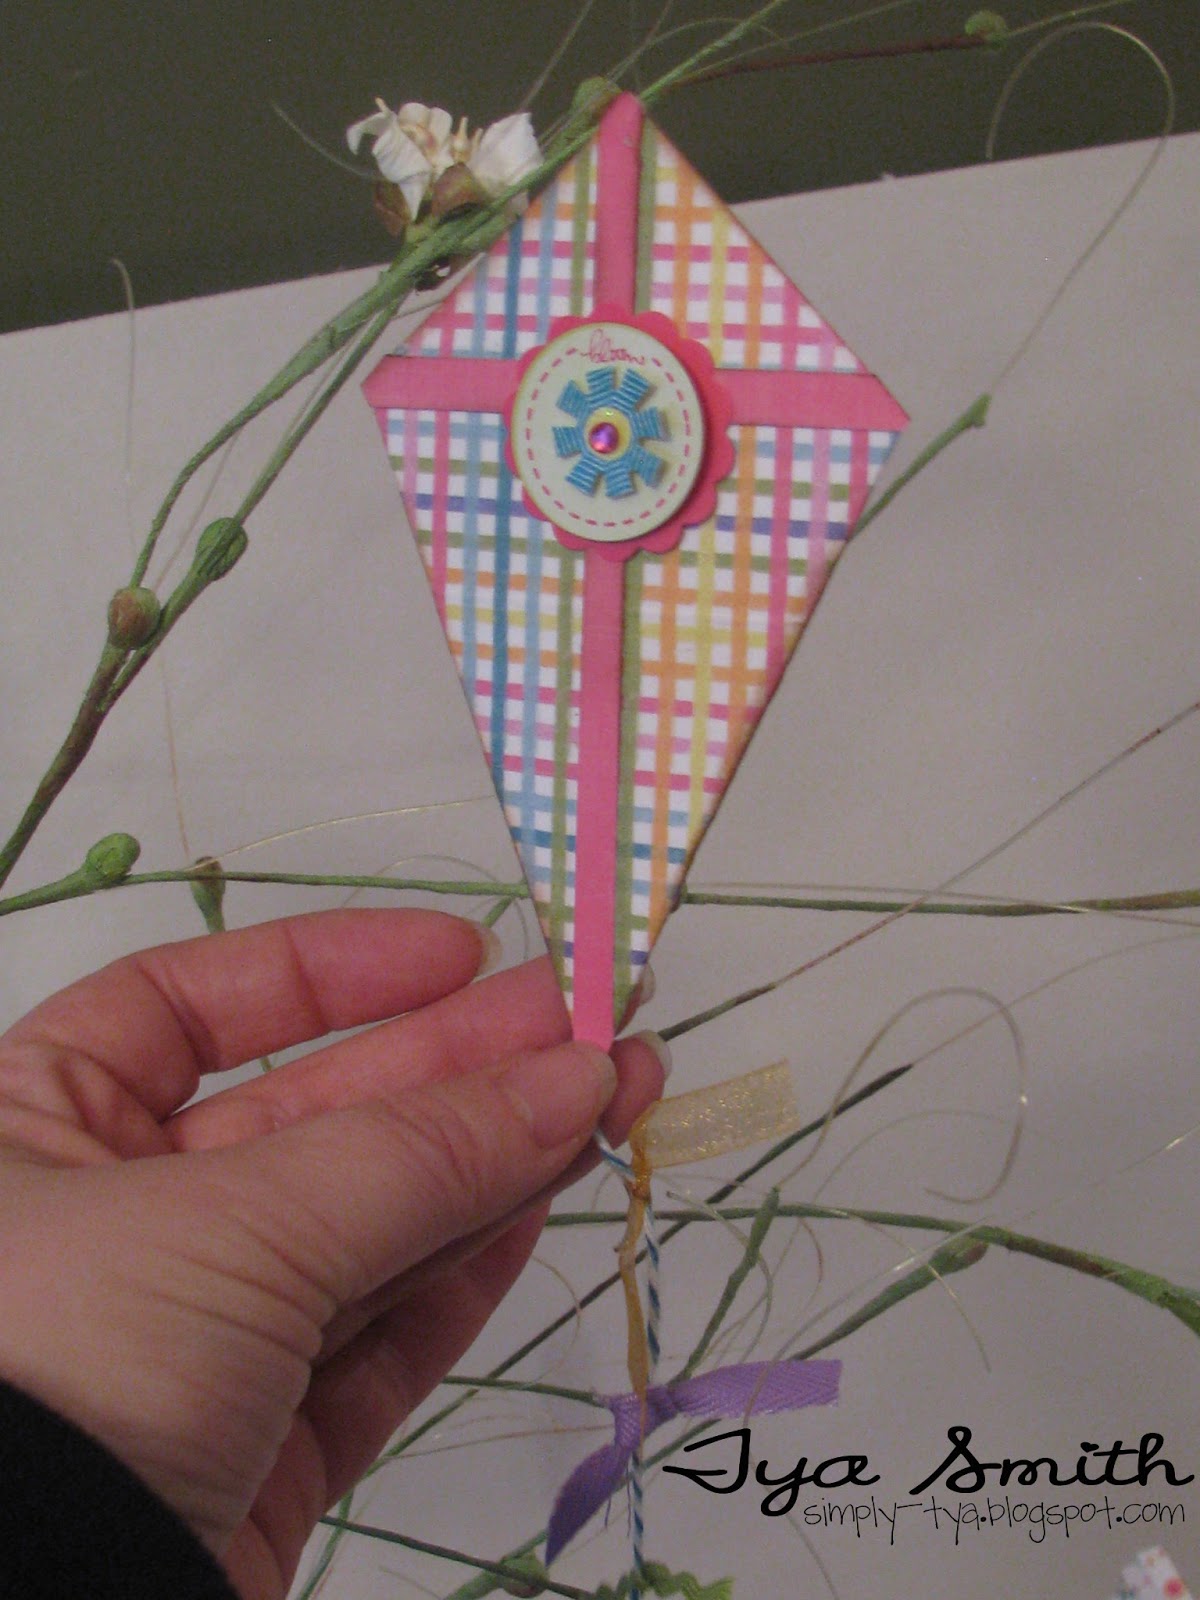
To make the kites I took a 3 1/2 x 3 1/2 inch square and scored it right down the middle going both ways:


Next you will simply fold the 2 outer edges to the center line to make a kite shape like below. Glue these 2 edges down.


Cut some thin strips of coordinating cardstock to the front to make the cross sections of the kite. Attach some baker's twine to the bottom of the kite for the kite's tail and add some tiny ribbon knots onto the baker's twine.


To attach the shapes to the Floral branch, I simply poked a small hole in the top of my shapes and fed the mono-filament twine (similar to fishing line) through the hole, tied a knot and added it to the branch.

I hope you will try these cute and fun techniques out for your own Spring Centerpiece. I love that I can add such fun little details to my home decor projects using my Scor-Pal! I hope you will too!

Happy Scoring!