Sunday, September 28, 2014

Fall/Halloween Tutorial with Janice Whiting

Hi, everyone!  Today I have a fun, fall inspired garland to share with you!  I saw this project over at Happy Clippings and thought by using our Score-Pal and Score-tape, that I could create the same project but much more easily and with the end result being more clean and crisp!  


Instructions
1. Using the maple leaf template at Happy Clippings, fold your paper in half, trace temple, and cut out.


2. Turn the leaf cut out on its side and using your Scor-Pal, score at every half inch.
 3. Fold on the score lines, folding one way and then another, back and forth to create an accordion shape.

 4. Place a strip of Scor-tape across the longest side of the leaf.

5. Bend in the middle, adhering the side with the score-tape together, creating the maple leaf.

Create as many of these as needed to create your fall garland! I adhered a loop of twine to be able to feed each leaf through the ribbon.  


Thanks so much for stopping by! I hope you've enjoyed our week long fall projects!!! :)


Saturday, September 27, 2014

Fall/Halloween Tutorial with Toni Storie

Hello Crafty Friends!  It's time for a new Scor-Pal tutorial and this time it is all about Halloween or Fall.  I opted to make a Fall project and created this fun paper pumpkin*.  Get ready for some scoring!
For this project, you will need: 
  • Scor-Pal
  • Scor-Tape
  • 8 sheets of 12" x  12" orange card stock
  • 3  1 1/2" x 3" pieces of brown card stock
  • 1 sheet of green card stock
  • Strong Adhesive ( I used Crystal Effects)
  • Paper Snips
  • 1" circle punch
  • Leaf die
Place the first orange 12" by 12" piece of card stock in the Scor-Pal.  Score at every inch mark. 
Flip the paper over, switching front and back, and then score every half inch between the previously scored line.  This will be 1/2", 1 1/2", 2 1/2", 3 1/2", 4 1/2", 5 1/2". 6 1/2". 7 1/2". 8 1/2". 9 1/2", 10 1/2" and 11 1/2".
Trim scored orange paper as follows:  1 1/2" x 12" (2 pieces), 2 3/4" x 12" (3 pieces), 3" x 12"(3 pieces), 3 1/4" x 12"(12 pieces), 3 1/2" x 12" (3 pieces), 2 1/2" x 12"(3 pieces), and 1 3/4" x 12" (2 pieces).  If you want to sponged or distress the edges, now is the time to do it.

Use the 1" circle punch to 20 circles at this time.

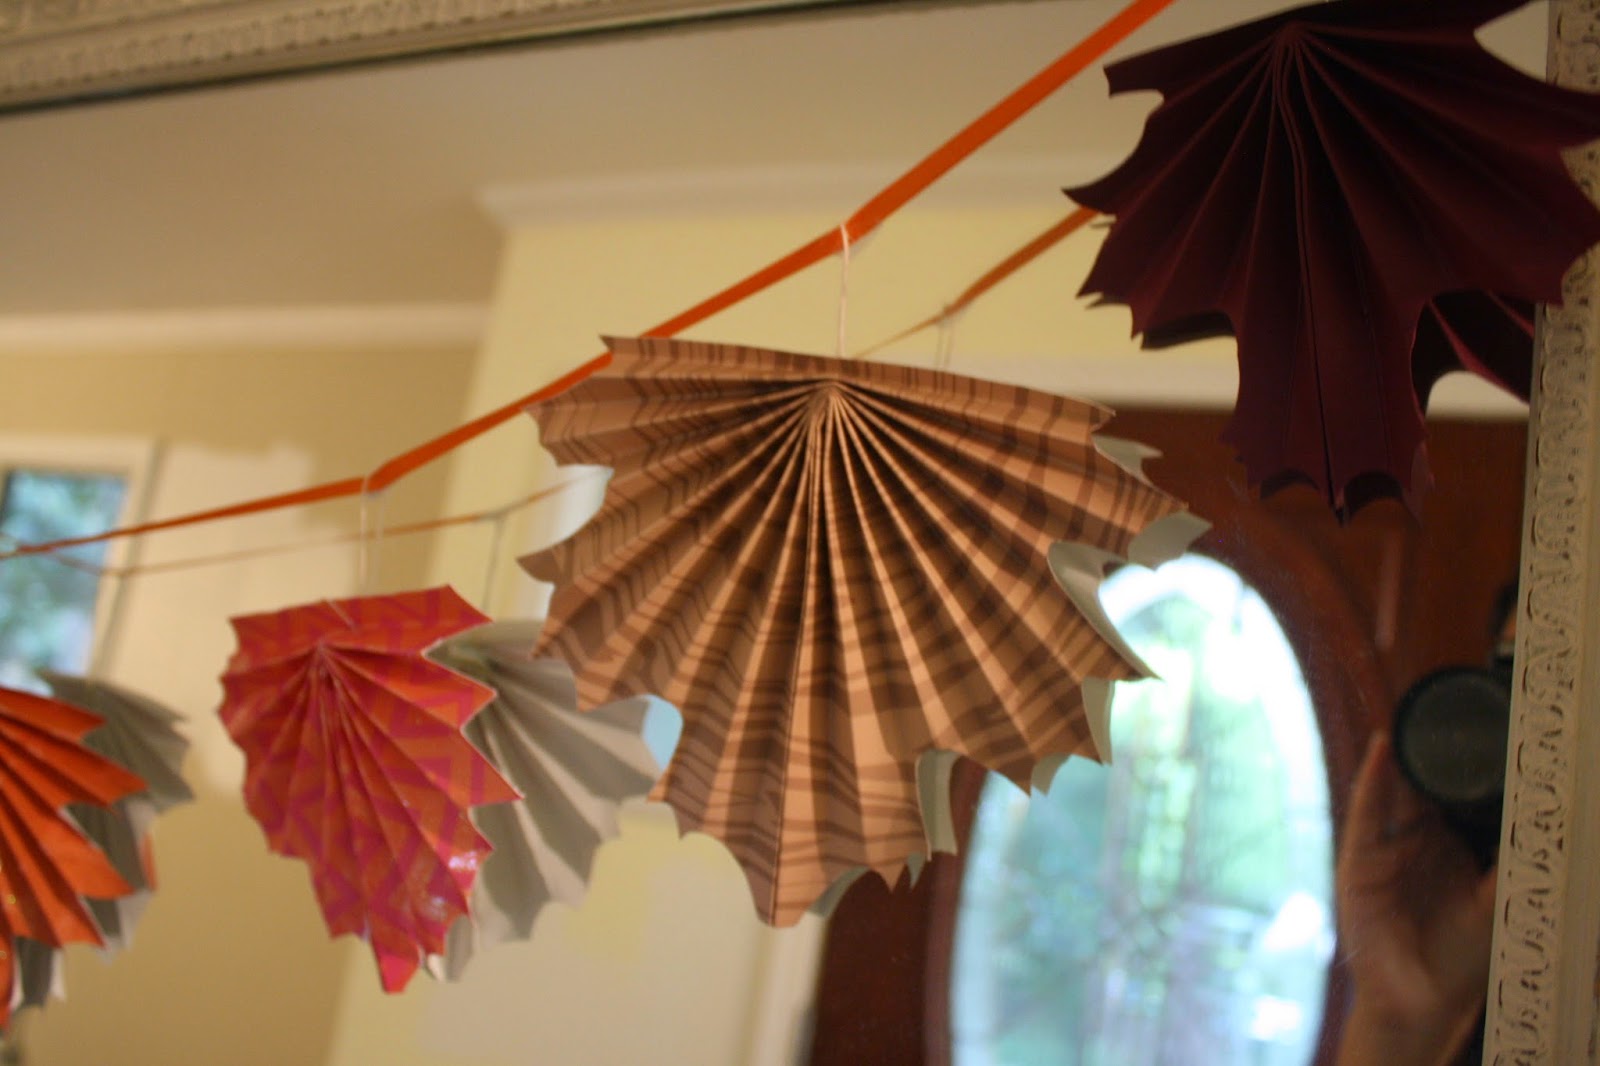
Accordion fold your pieces now.  Remember that the raised line is a valley and the depressed line is a mountain.  (Important tip: Keep the pieces that measure the same together.)
Starting with the 3 1/2" by 12" strips, line the last two panels of the accordion folded strip with Scor-Tape. 
Remove adhesive lining from Scor-Tape and overlap with two panels from the second accordion piece.  Adhere the two accordion folded strips to create one longer strip.  Repeat this step with the third strip to create an even longer strip.
Using the same process of lining the last two panels with Scor-Tape and overlapping them, create a circle out of the accordion folded strip. 
Next, push in the top of the accordion folded circle while pressing down to create your rosette shape. 
Apply your adhesive to a 1" circle and secure it to the top of the rosette.  Repeat this same action on the bottom of the rosette.  (I used Crystal Effects and had to wait for it to dry, others have successfully used glue guns.)
Create the rest of the rosettes at this time.  It is helpful to create them and keep them in the same order as they were listed for cutting.  There will be ten rosettes in all.  The first and last rosette have only two accordion folded strips, while all others have three.  Four rosettes will be made with the 3 1/4" x 12" strips. 

Assemble your paper pumpkin by using strong adhesive on the paper circles between the layers.  It worked best to assemble them from top to bottom in this order:  1 1/2" x 12" rosette, 2 3/4" x 12" rosette, 3" x 12" rosette,  two 3 1/4" x 12" rosettes, 3 1/2" x 12" rosette, two 3 1/4" x 12" rosettes, 2 1/2" x 12" rosette and finally the 1 3/4" x 12" rosette. 
The paper pumpkin is starting to take shape and now needs some additional details. 
Create a stem for the pumpkin by trimming one edge of the 1 1/2" x 3" strips of brown card stock into a fringe.  Line the side without fringe with Scor-Tape. Repeat with the second and third pieces of brown card stock.
Remove the adhesive backing  on one piece and roll it into a tight roll.  Remove the backing of the next piece and continue to wrap it around the first roll, creating a stem for the pumpkin.  Adhere the stem to the top of the paper pumpkin with strong adhesive. 

Trim 1/8" strips of green card stock and create vines by curling the strips around a pencil.  Secure the vines to the paper pumpkin with strong adhesive.  Die cut leaves from the same green card stock and adhere to the paper pumpkin as desired.
This completes my paper pumpkin tutorial.  Enjoy!

Details - Paper: Orange, Soft Suede, Old Olive; Accessories: Scor-Pal, Scor-Tape, Crystal Effects, Spellbinders Fall Foliage dies, paper snips, circle punch.

*Paper pumpkin tutorial slightly modified from this tutorial.

Wednesday, September 24, 2014

Fall/Halloween Tutorial with Steph Ackerman

Hi everyone.  Steph Ackerman here today.  It's almost Halloween.  Are you ready for the little ones collecting all that yummy candy?  Have they told you what they want to be yet?  Do you have their goodie bags ready?  Well for the big kids, here are a couple of treat bags that are easy to make and fill with all kinds of goodies.

They are extremely quick to make and fun to decorate.


Start with 12" cardstock and score at  2 1/2", 5 1/2", 8", 11". 
Rotate 180 degrees and score at 3".


Cut up the vertical score lines to the 3" score line.
Cut out the 1" corner piece.


Cut 2 pieces of pattern paper 2 3/4" x 8 3/4" and adhere to the box.
Place Scor-tape along the 1" edge and assemble the box.


Fold in the box bottom, adding Scor-tape along the edges of the outer layer.


To create the handle, cut a strip of cardstock 1 1/2" x 12".
Add Scor-tape to the edges and adhere to the sides of the box.
Tie ribbon to one side of the box.


The cat and witch were die cut from cardstock using my Cricut.  But any die cuts could be used.


Thanks for stopping by today.


Steph 

Tuesday, September 23, 2014

Fall/Halloween Tutorial with Lisa Andrews


Today is Day 2 of week full of tutorials over at Scor-Pal.  I decided to make a witches hat that holds all of magic of Halloween's past.  

Project recipe:

Various Halloween themed designer paper
Scor-Pal
Scor-Tape
lots of Halloween embellishments
black tulle
ribbon
Wild Orchid flowers
Chipboard
black card stock
white card stock (for making a template)


We need to start by making our template for the top of the witches hat (by the way....this would make a great Santa's hat also!).  I created a triangle that is 8 1/2" tall and 4" wide at the base.  Trace one triangle onto a piece of 12" x 12" piece of card stock.  Then trace a triangle on each side and create a 1/2" lip on each side.  Trace one more free standing triangle.


Trace your template onto black card stock, score and cut out.  Adhere 1/8" score-tape to the lips on each side and attach free standing triangle.


You will now have a square cone that will be the top of the witches hat.  Decorate all nice and fancy.


Next, create a box for the inside of the hat that measures 5 3/4" square, score 1" on each side to create a box that will hold an accordion of photos.


Now we will create the accordion that will hold your photos.  Cut four strips of paper 3 5/8" x 11", score one side at 3 5/8", turn the paper over and on the opposite side of the first score, score again at 3 5/8".  You will have a strip of paper with a mountain score on one side and a valley score on the other.   3 5/8" is where the first arrow is on the top fence of your Scor-Pal.  Attach the four strips together, as shown above to create an accordion.


Attach the accordion to the inside of the square box.

The brim of the witches hat is a 10 1/2" circle cut from chipboard.  I painted the circle with Distress Ink, Black Soot.  I attached black tulle in a circle to the chipboard and then attached the box on top of that.


I hope you enjoyed my project.   Stop by Scor-Pal all this week to see what the other designer have created!

Monday, September 22, 2014

Fall/Halloween Tutorial with Katie Tate

Today is Day 1 of a week of Fall/Halloween tutorials here at Scor-Pal
My tutorial is for a cute Halloween House, perfect for hiding treats in!


Project Recipe:
Cardstock and Patterned Paper - Unknown
Scoring Tool - Scor-Pal
Adhesive - Scor-Tape
Fence Punch - Martha Stewart
Scalloped Punch - Fiskars
Pumpkin Dies - Dayco


Take 2 pieces of cardstock 5" by 12" and score at 1" with the 5" side at the top fence and then at 1", 5" and 11" on the 12" side.


Burnish all scored lines and snip as in the photo to create flaps.


Add Scor-Tape to the flaps to form the base of the house.


Form 2 sides of the house using one piece of the cardstock and your Scor-Tool to create crisp corners


Repeat with the other piece of cardstock and attach together to form the 4 walls of the house. (don't worry about a base it will come later) Your house will measure 6" by 4"


Punch a 12" strip with your fence punch from a full piece of cardstock. After punching trim to a height of 2" on a trimmer. Then on your Scor-Pal score a line 1/4" from the bottom of your fence and burnish. These measurements will vary depending on what you use for your fence. Just remember that you need to leave room to be able to form a flap that will attach to the base.


Repeat with other strips until you have enough to go around the base of your house. Form corners as in the photo. I wanted my base to measure 6 1/2" by 5" and adjusted the punched pieces to fit (with their repeating design matching up) and trimmed to form a gate space (so the trick or treaters can visit the house :).


Attach the base to the fences with Scor-Tape


The house will fit to the base. You will attach with Scor-Tape later after decorating.


To make the roof start with a piece of cardstock 4 1/4" by 8" and score at 8" on the 8" side and burnish.


For the sides of the roof have 2 pieces of cardstock 5 1/2" by 4". At the center point on the 5 1/2" side (so 2 3/4") mark with a pen. Draw 2 diagonal guide lines from the that point to each bottom corner. Use those lines as a guide to line up on your Scor-Pal and score the diagonal lines and burnish.


Attach the roof sides at one side to the roof top as in the photo. Sorry it is hard to see, it is hard to edit it lighter with it being a black roof.


Trim off the overlap so that the sides match the level of the roof. It is so much easier to do it this way as the scored diagonal lines are easy rather than have to measure in on the sides before scoring and you are much less likely to make a mistake. Also trim the tiny piece that overlaps on the front too (I left it on the photo so you could see what I was referring to)


Attach the other side of the roof and use your Scor-Tool in the corners to complete the roof.

Now decorate the house as you desire.


The roof is easily removed to add treats if you would like or you could use it as a gift box.


I hand cut windows and a door and found this little round sticker that I thought looked a little like a wreath to fit on the door. You can decorate how you like.


I hope you enjoyed this and be sure to drop me a message if you have any questions.

Katie